![[The Transformers Archive - an international fan site]](/common/skin/cardbackwide/tfarchive.png)


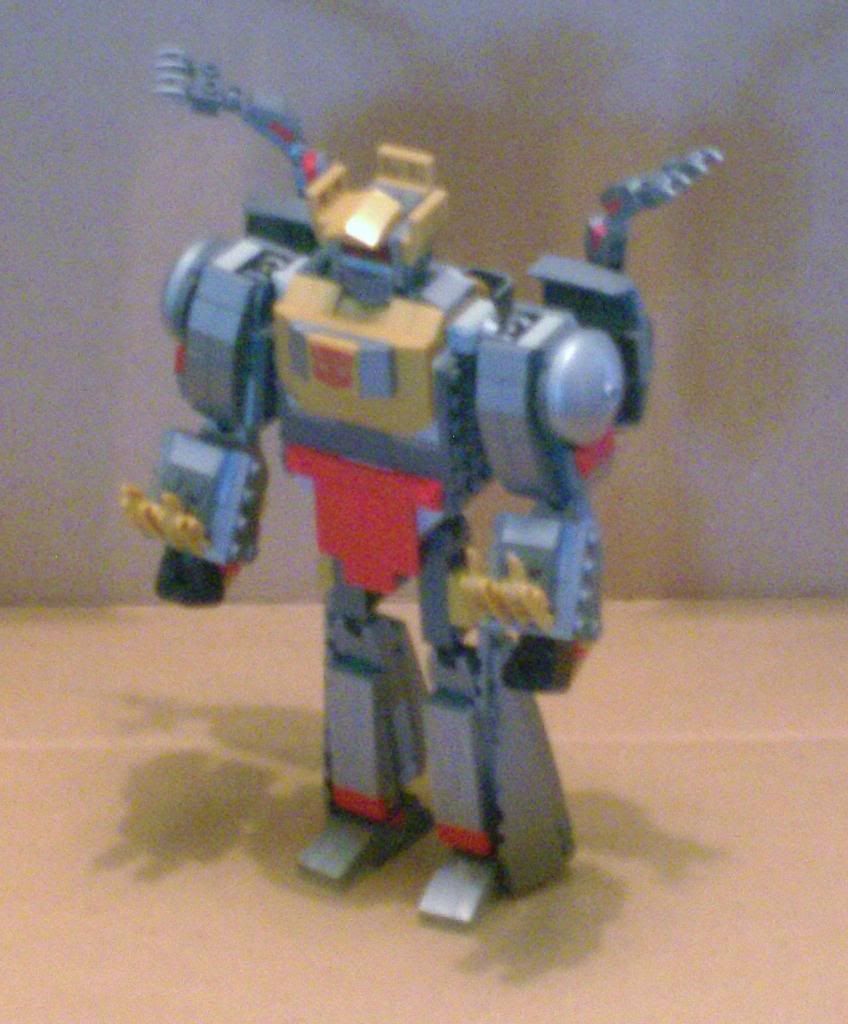
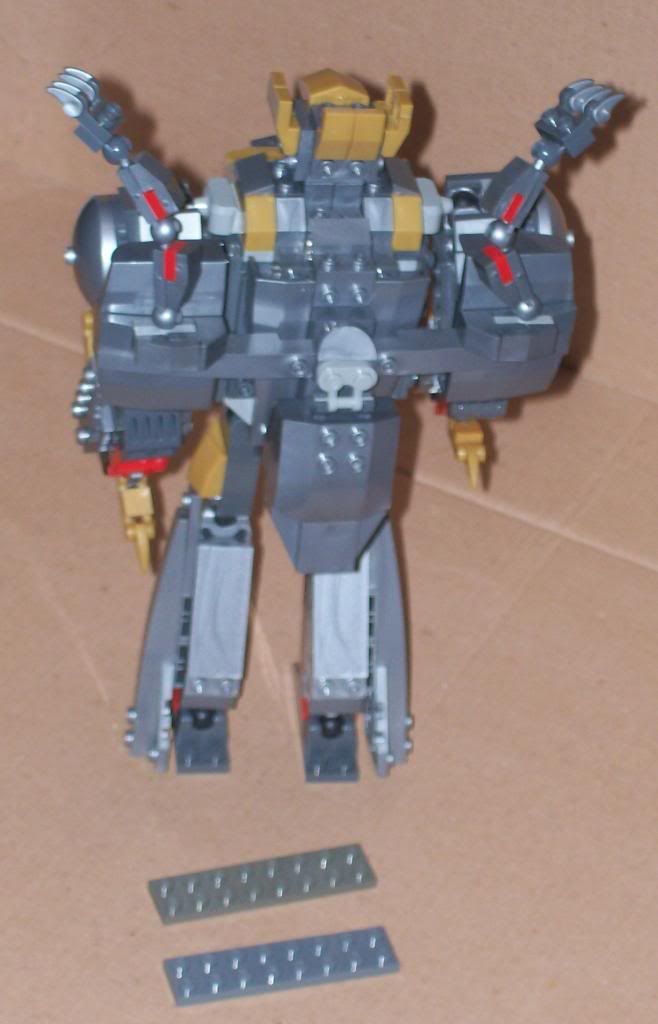
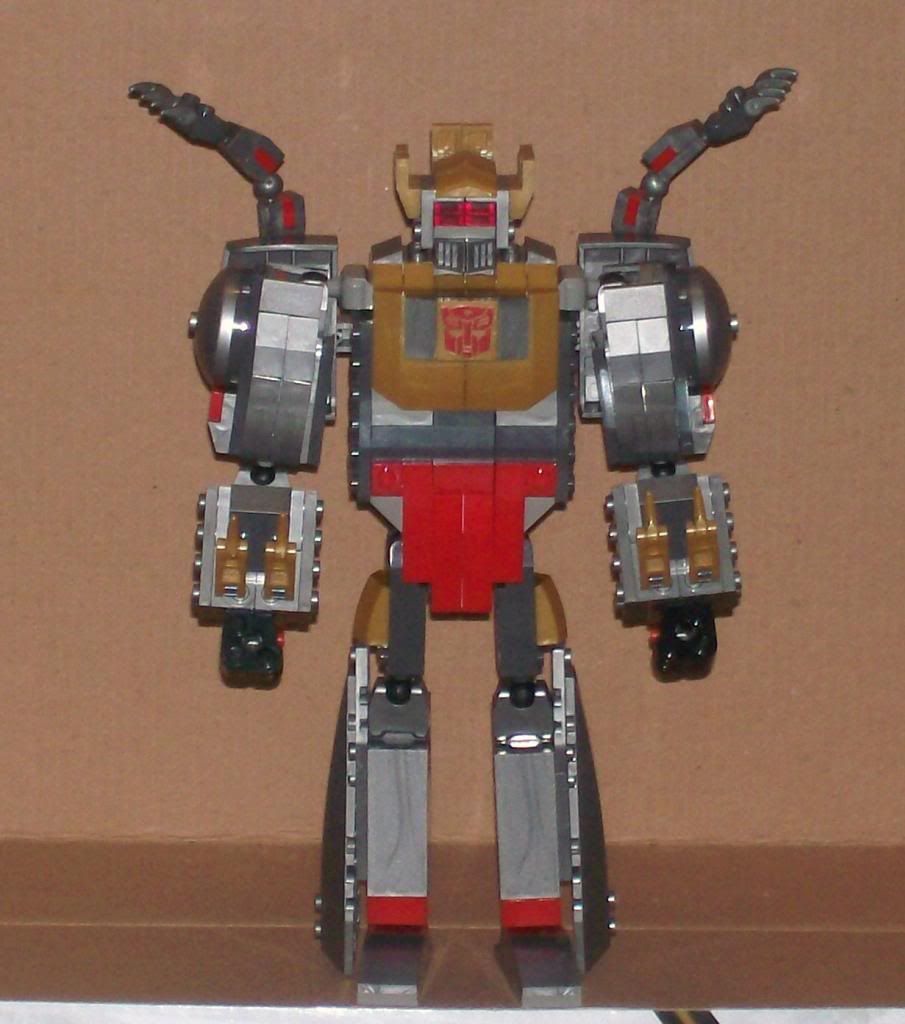
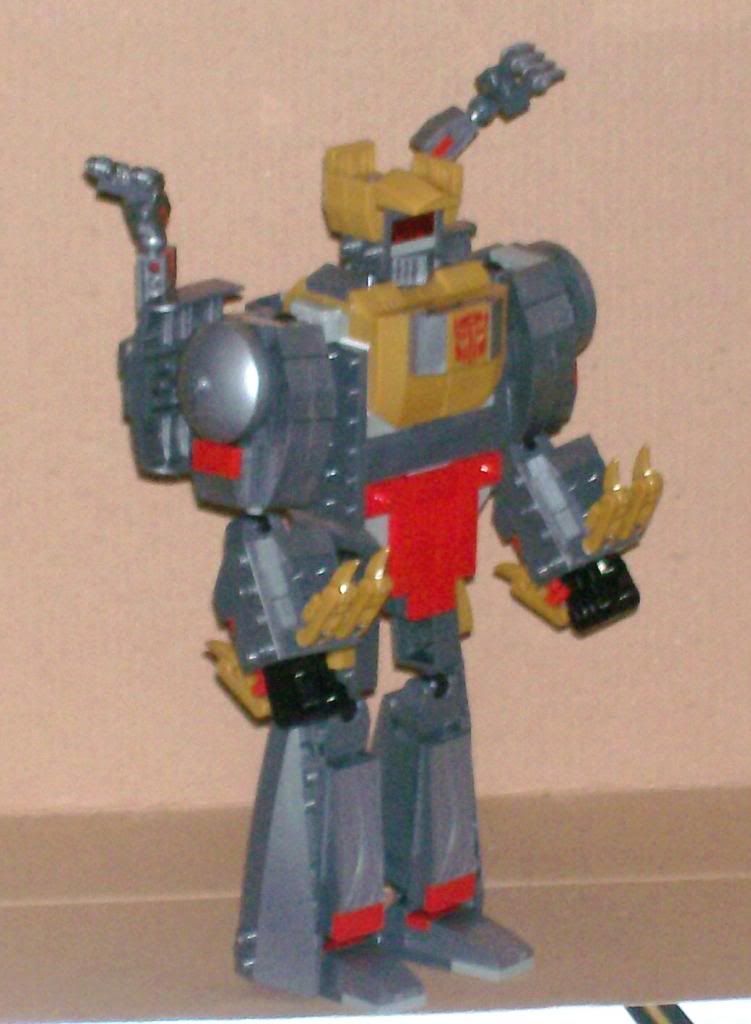
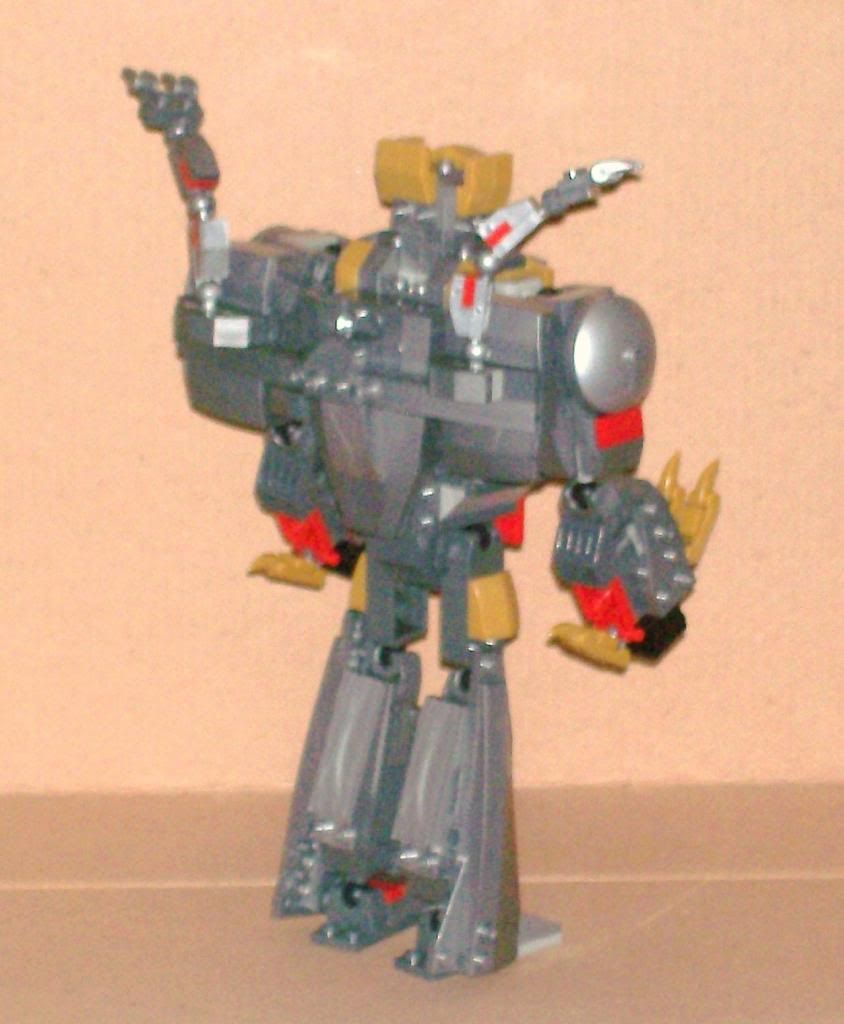
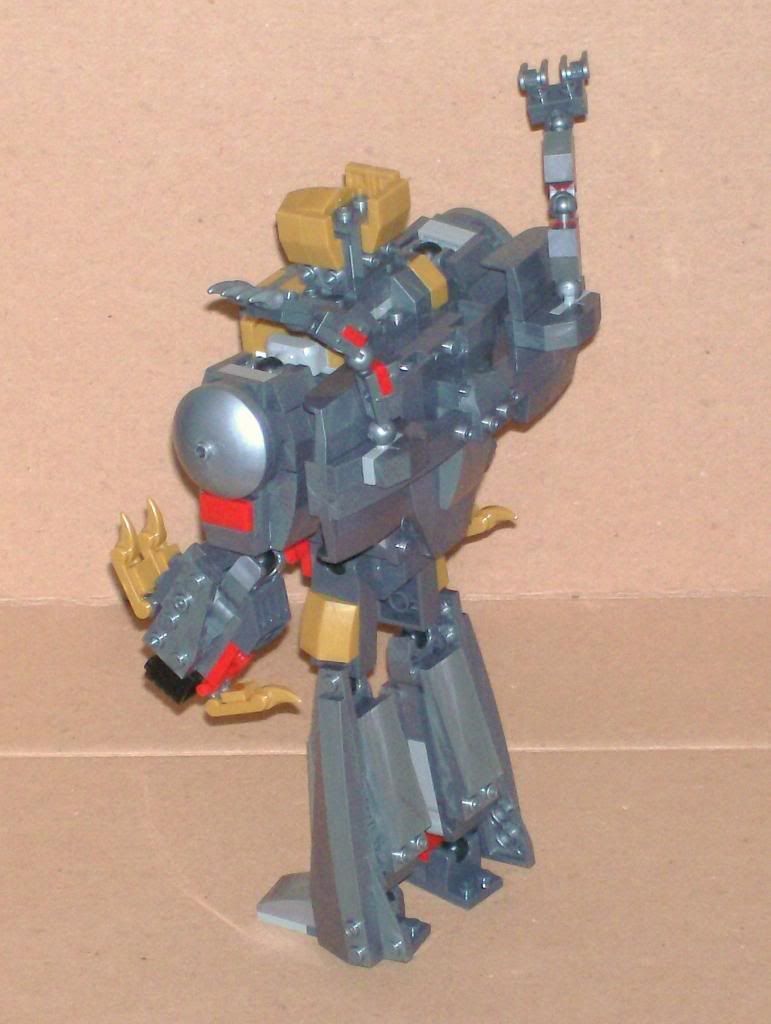
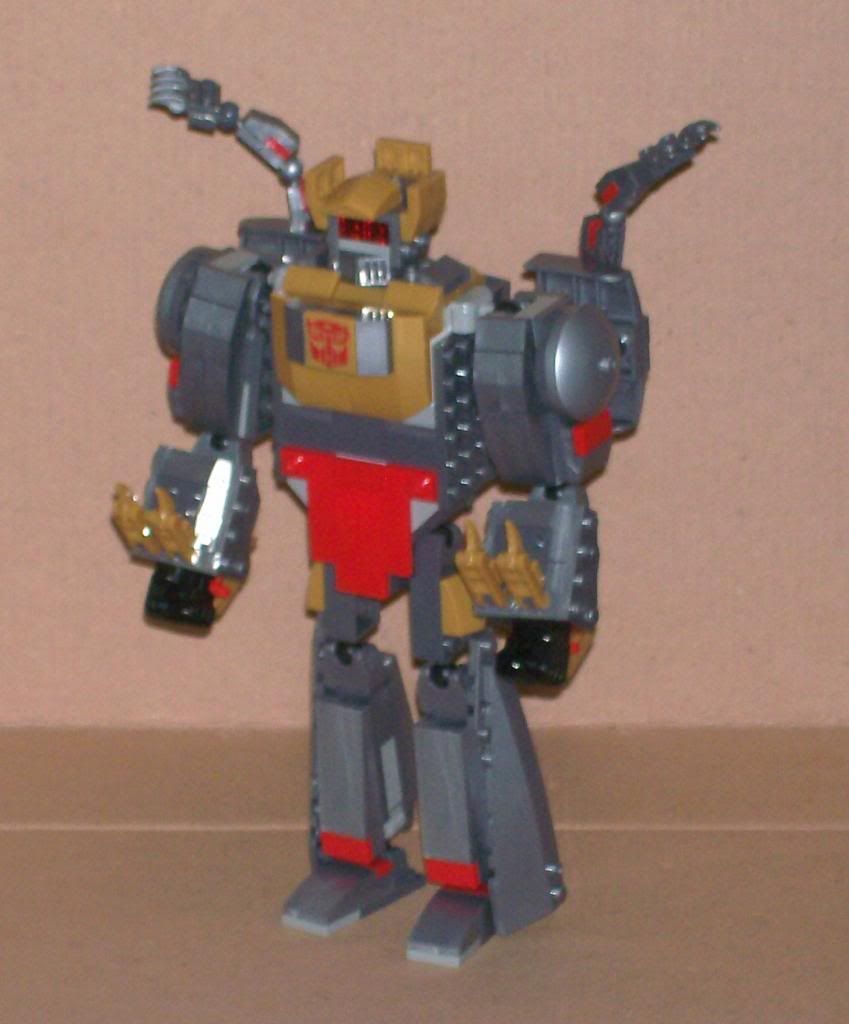
I took a crack at rebuilding the Grimlock Unleashed kit into robot mode. I only had to add a few parts:
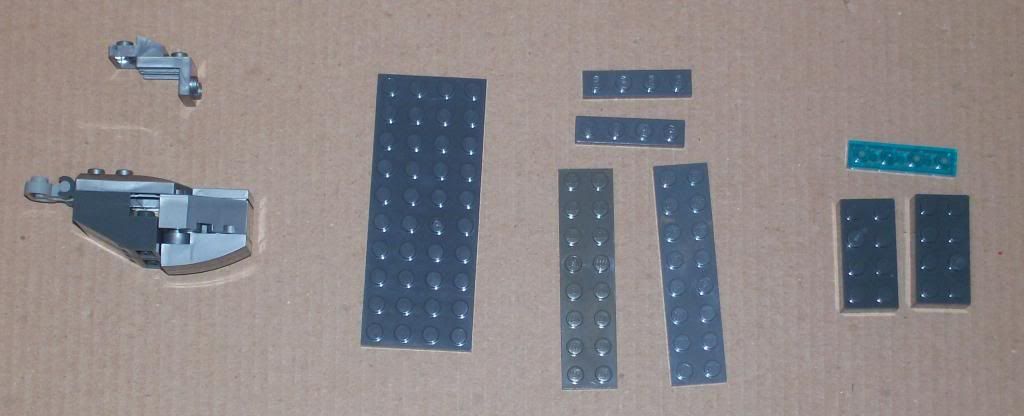
1 pair of Kre-O fists
2 1x2 Technic bricks with holes in the sides (for wrists)
1 1x4 Technic brick with holes on the sides
4 1x1 red tiles (for eyes - I wanted to use 2 1x2 blue tiles, but didn't have any)
1 Kre-O ball joint brick (for an ankle)
1 Kre-O socket tile (for a foot)
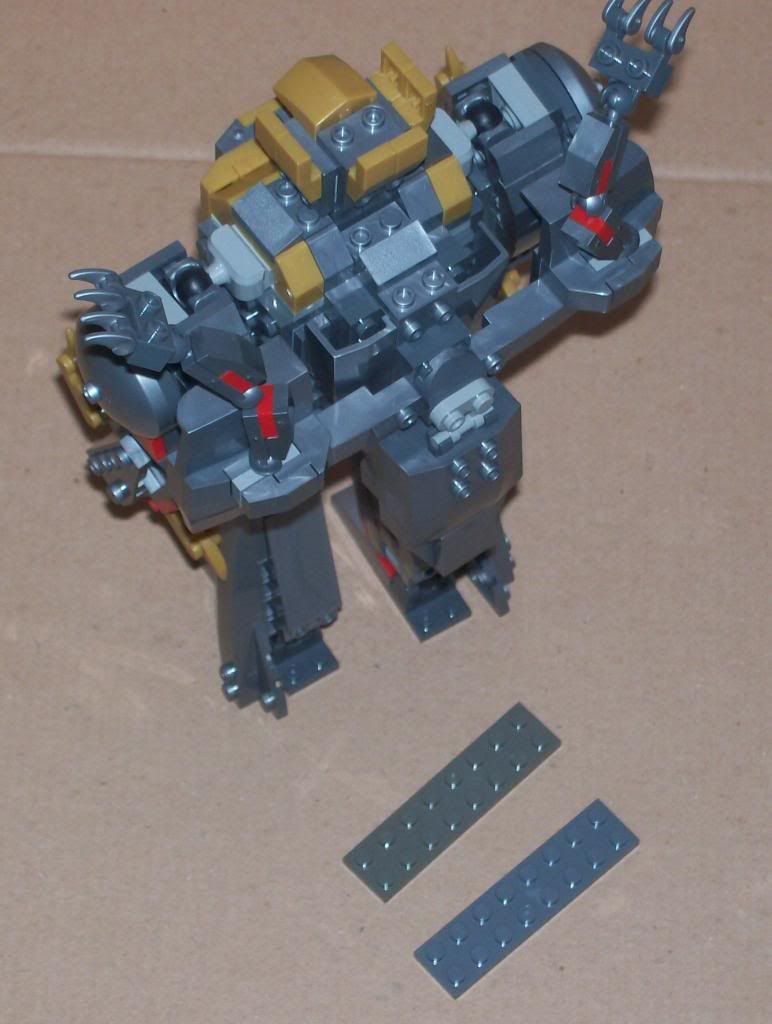
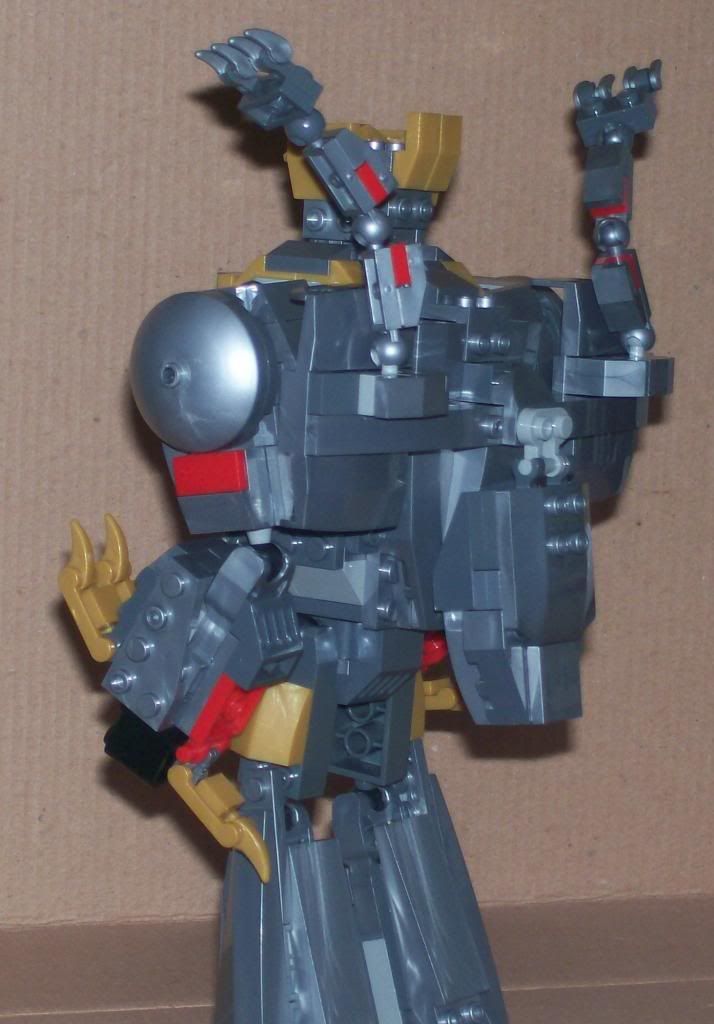
I left the dino legs/robot arms mostly unchanged, except for replacing the solid 1x2 bricks in the soles of each foot with 1 1x2 Technic brick so I could attach the robot fists. Since I don't care if dino Grimlock has holes in his soles, I'll probably just leave them like this. I left the dino arms alone. Here's more pictures from different angles.

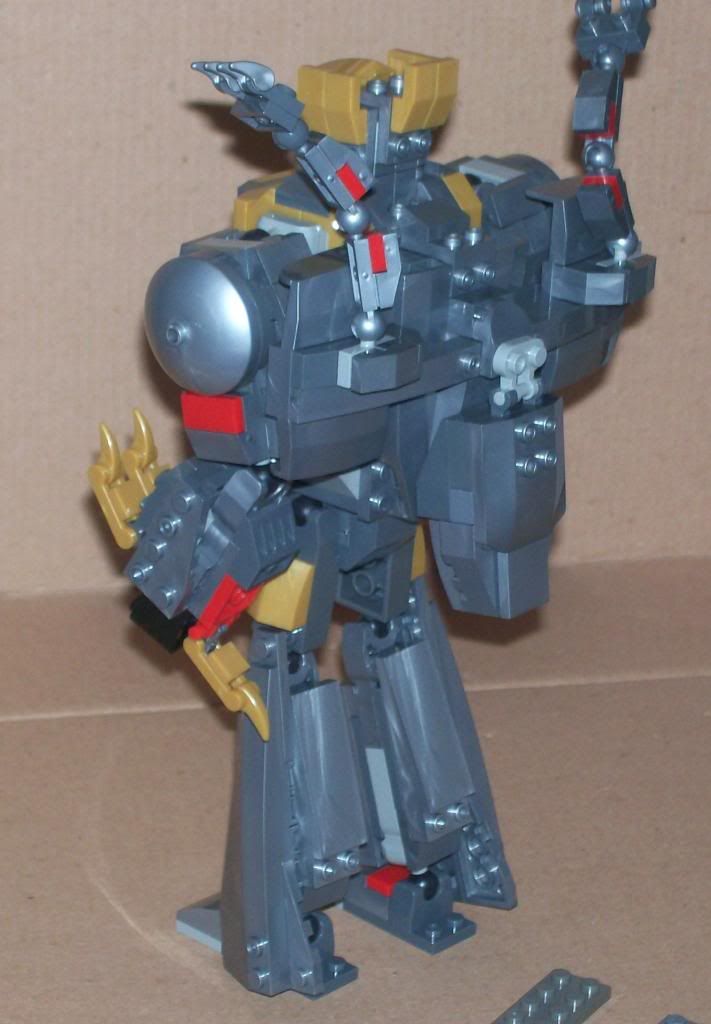
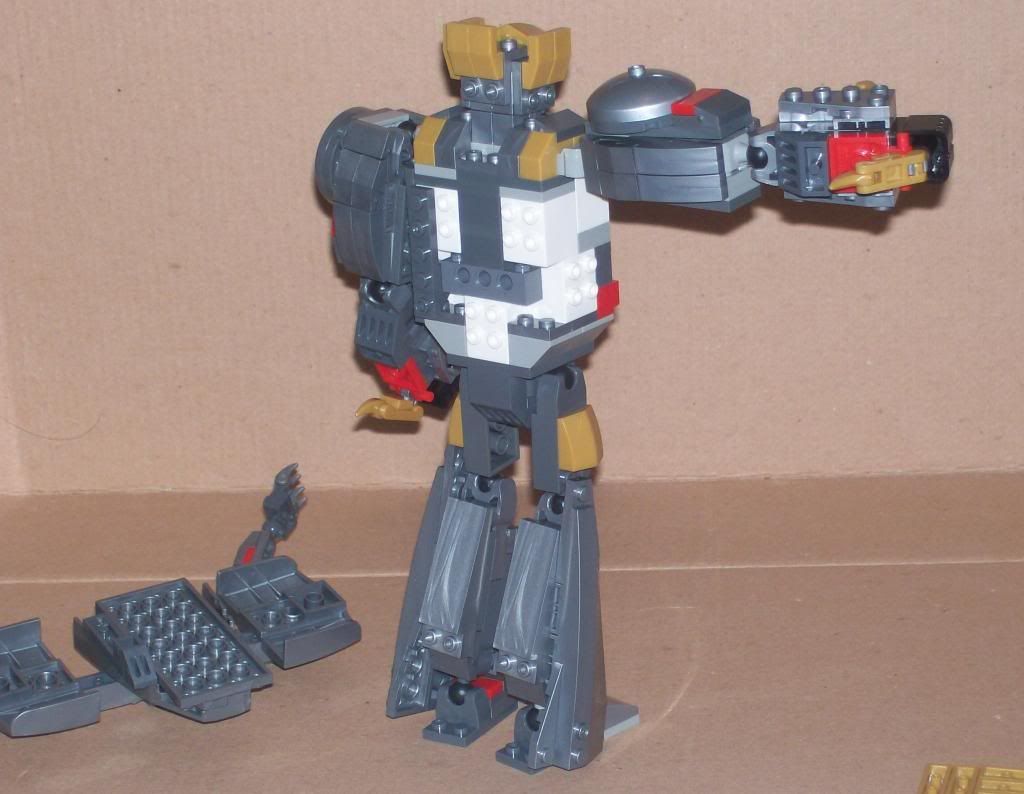
Below are a couple shots without the armor that show the construction of the torso.
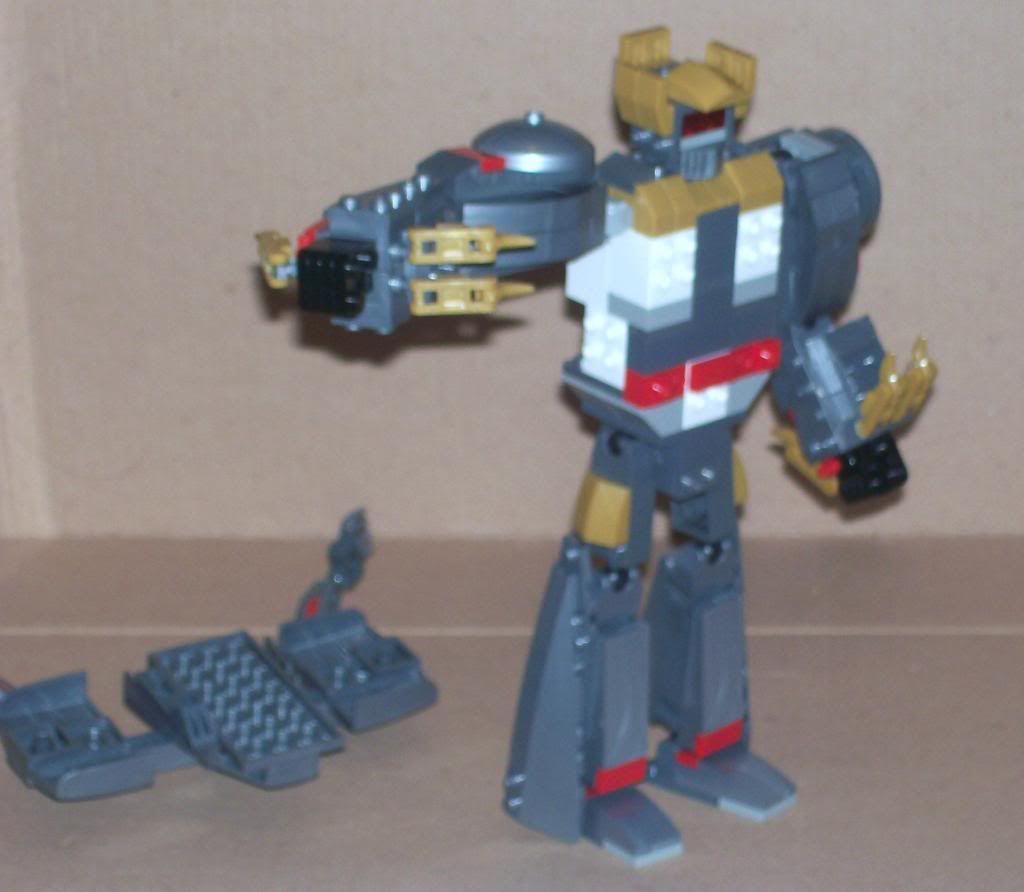
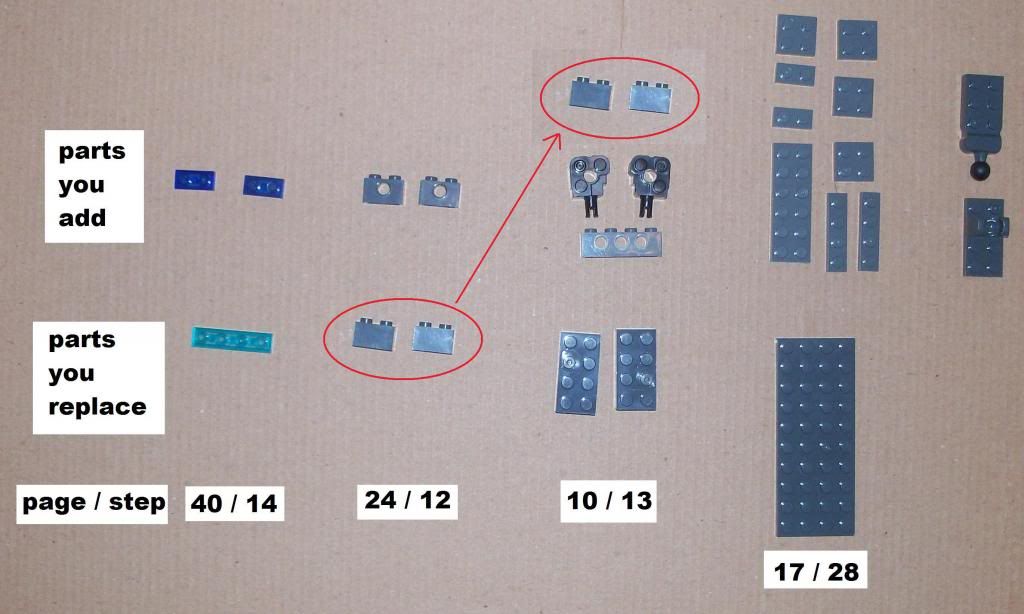
These are the parts I had left over. The three on the right are no longer part of the dino build. The blue 1x4 tile that formed the dino eyes will be replaced by the smaller tiles that form the robot eyes placed next to each other.
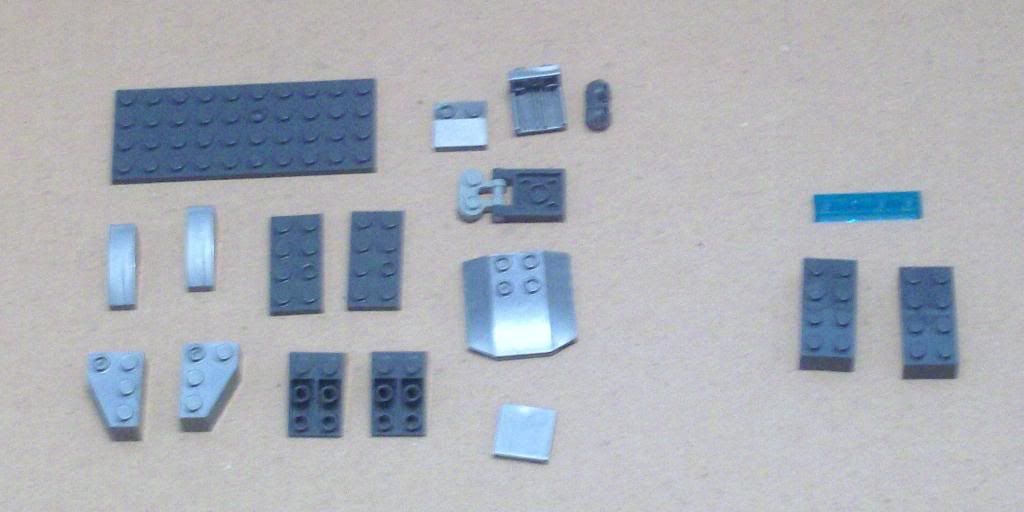
The two 2x4 bricks went inside the dino torso (page 10, step 13 of the instructions). I plan to replace these with the two fists plugged into the 1x4 Technic brick and the two 1x2 bricks I replaced in the soles of the dino's feet. I haven't tested this yet, but I think the only robot parts I'll have left over whem rebuilding the dino will be the socket tile and ball joint brick.